Step 5: Finalize Your Auto Labeling Workflow#
You’ve analyzed, approved, and tagged predictions. Now it’s time to finalize the workflow, integrating approved labels into your dataset while discarding problematic predictions.
Pre-Finalization Checklist#
Before finalizing, verify:
Item |
Status |
|---|---|
Reviewed approval queue for correctness |
✅ |
Tagged all problematic samples |
✅ |
Spot-checked random approved samples |
✅ |
Documented confidence thresholds used |
✅ |
Noted any systematic model issues (or hypothesized issues) you may have observed |
✅ |
Final Review of Approval Queue#
Navigate back to the Auto Labeling panel, and then to the Approval tab. Before finalizing the approval, take one more opportunity to add any other labels you’d like to the approval queue.

After reviewing your labels ready for approval, click Approve labels at the bottom of the panel
You will be prompted once more with a note that approving these labels will delete all the other yolow_detections-in-review labels (i.e., the labels left unapproved). Click Approve labels

Once approved, the status of the panel changes to Approved status.
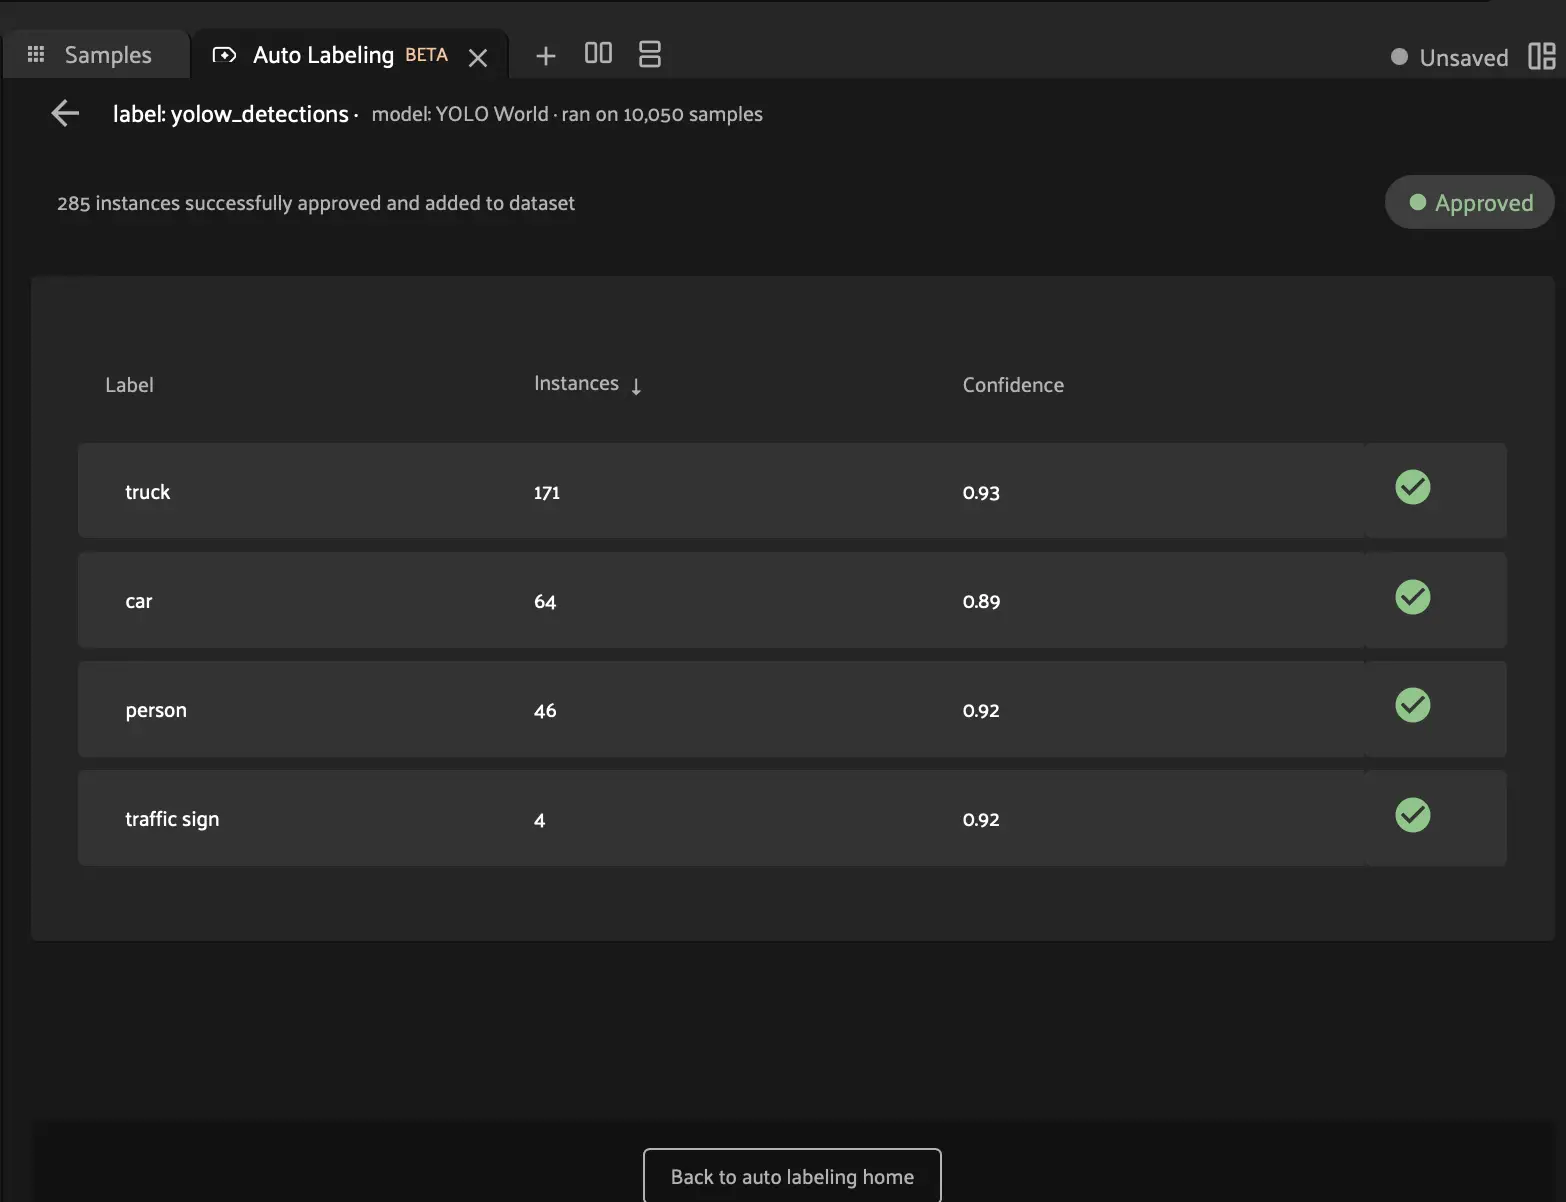
Now your approved yolow_detections labels have been added as a permanent field to your dataset, with corresponding class labels and confidence filtering. You can slice and filter this field just like any other.

You Did It!#
Congratulations!
You’ve completed your first Auto Labeling workflow, transforming raw predictions into high-quality, verified dataset labels.
Next: Review the Guide Summary for key takeaways and next steps.
Tip
Save this workflow! The process you’ve learned is broadly applicable to any labeling task. With practice, you’ll develop intuition for confidence thresholds, model selection, and review strategies tailored to your specific use cases.