Step 4: Assess Labels with Embeddings#
The sample grid is useful for visually identifying true and false positives. However, identifying false positives in bulk can be challenging, and false negatives are even harder to spot. Using FiftyOne’s patch embeddings can assist in identifying collections of outlying samples that can be tagged for relabeling, or removed from consideration altogether.
Compute Patch Embeddings#
In the previous step, you generated patch views that showed one detection label per sample. You can similarly compute and visualize patch embeddings directly within the FiftyOne App.
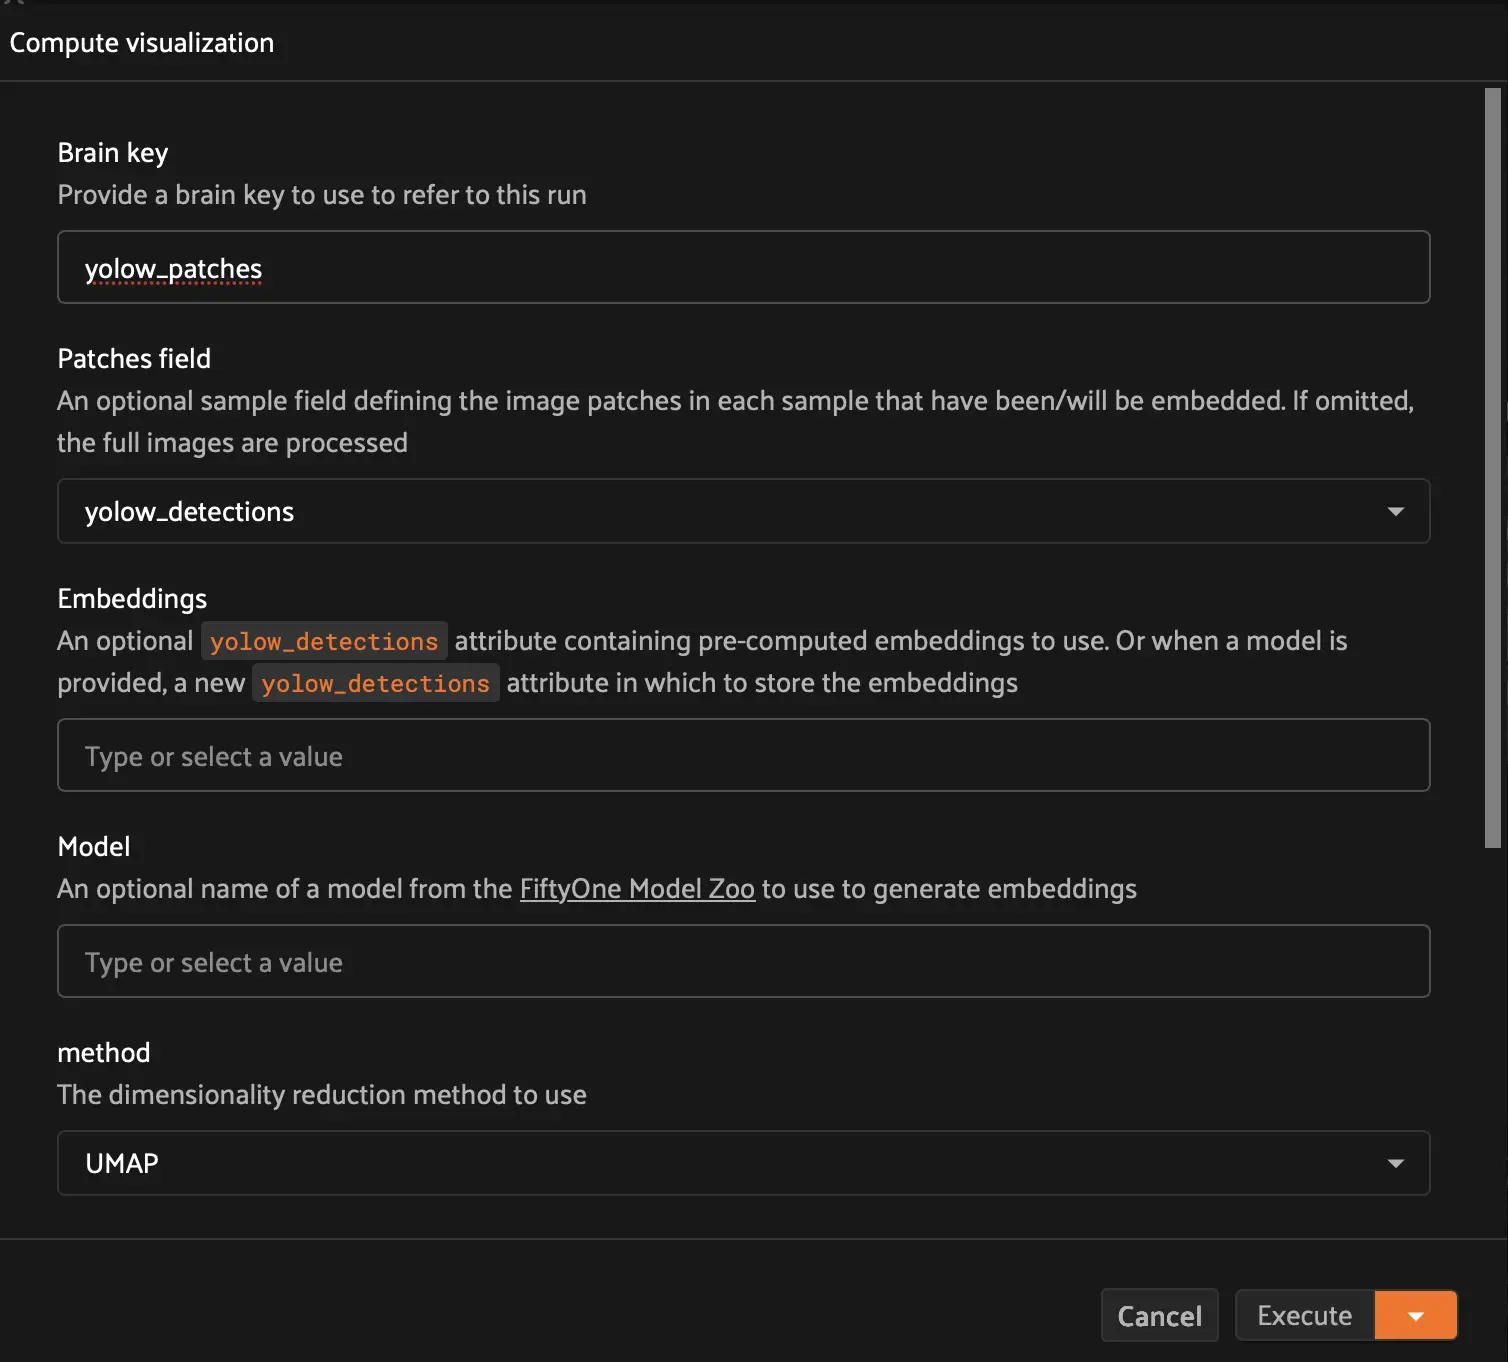
In the toolbar above the sample grid, select Browse operations > Compute visualization.
For the brain key, type
yolow_patchesFor the patches field, select yolow_detections
Leave all other settings as they are. You can refer to the image embeddings documentation for more details on supported visualization parameters.
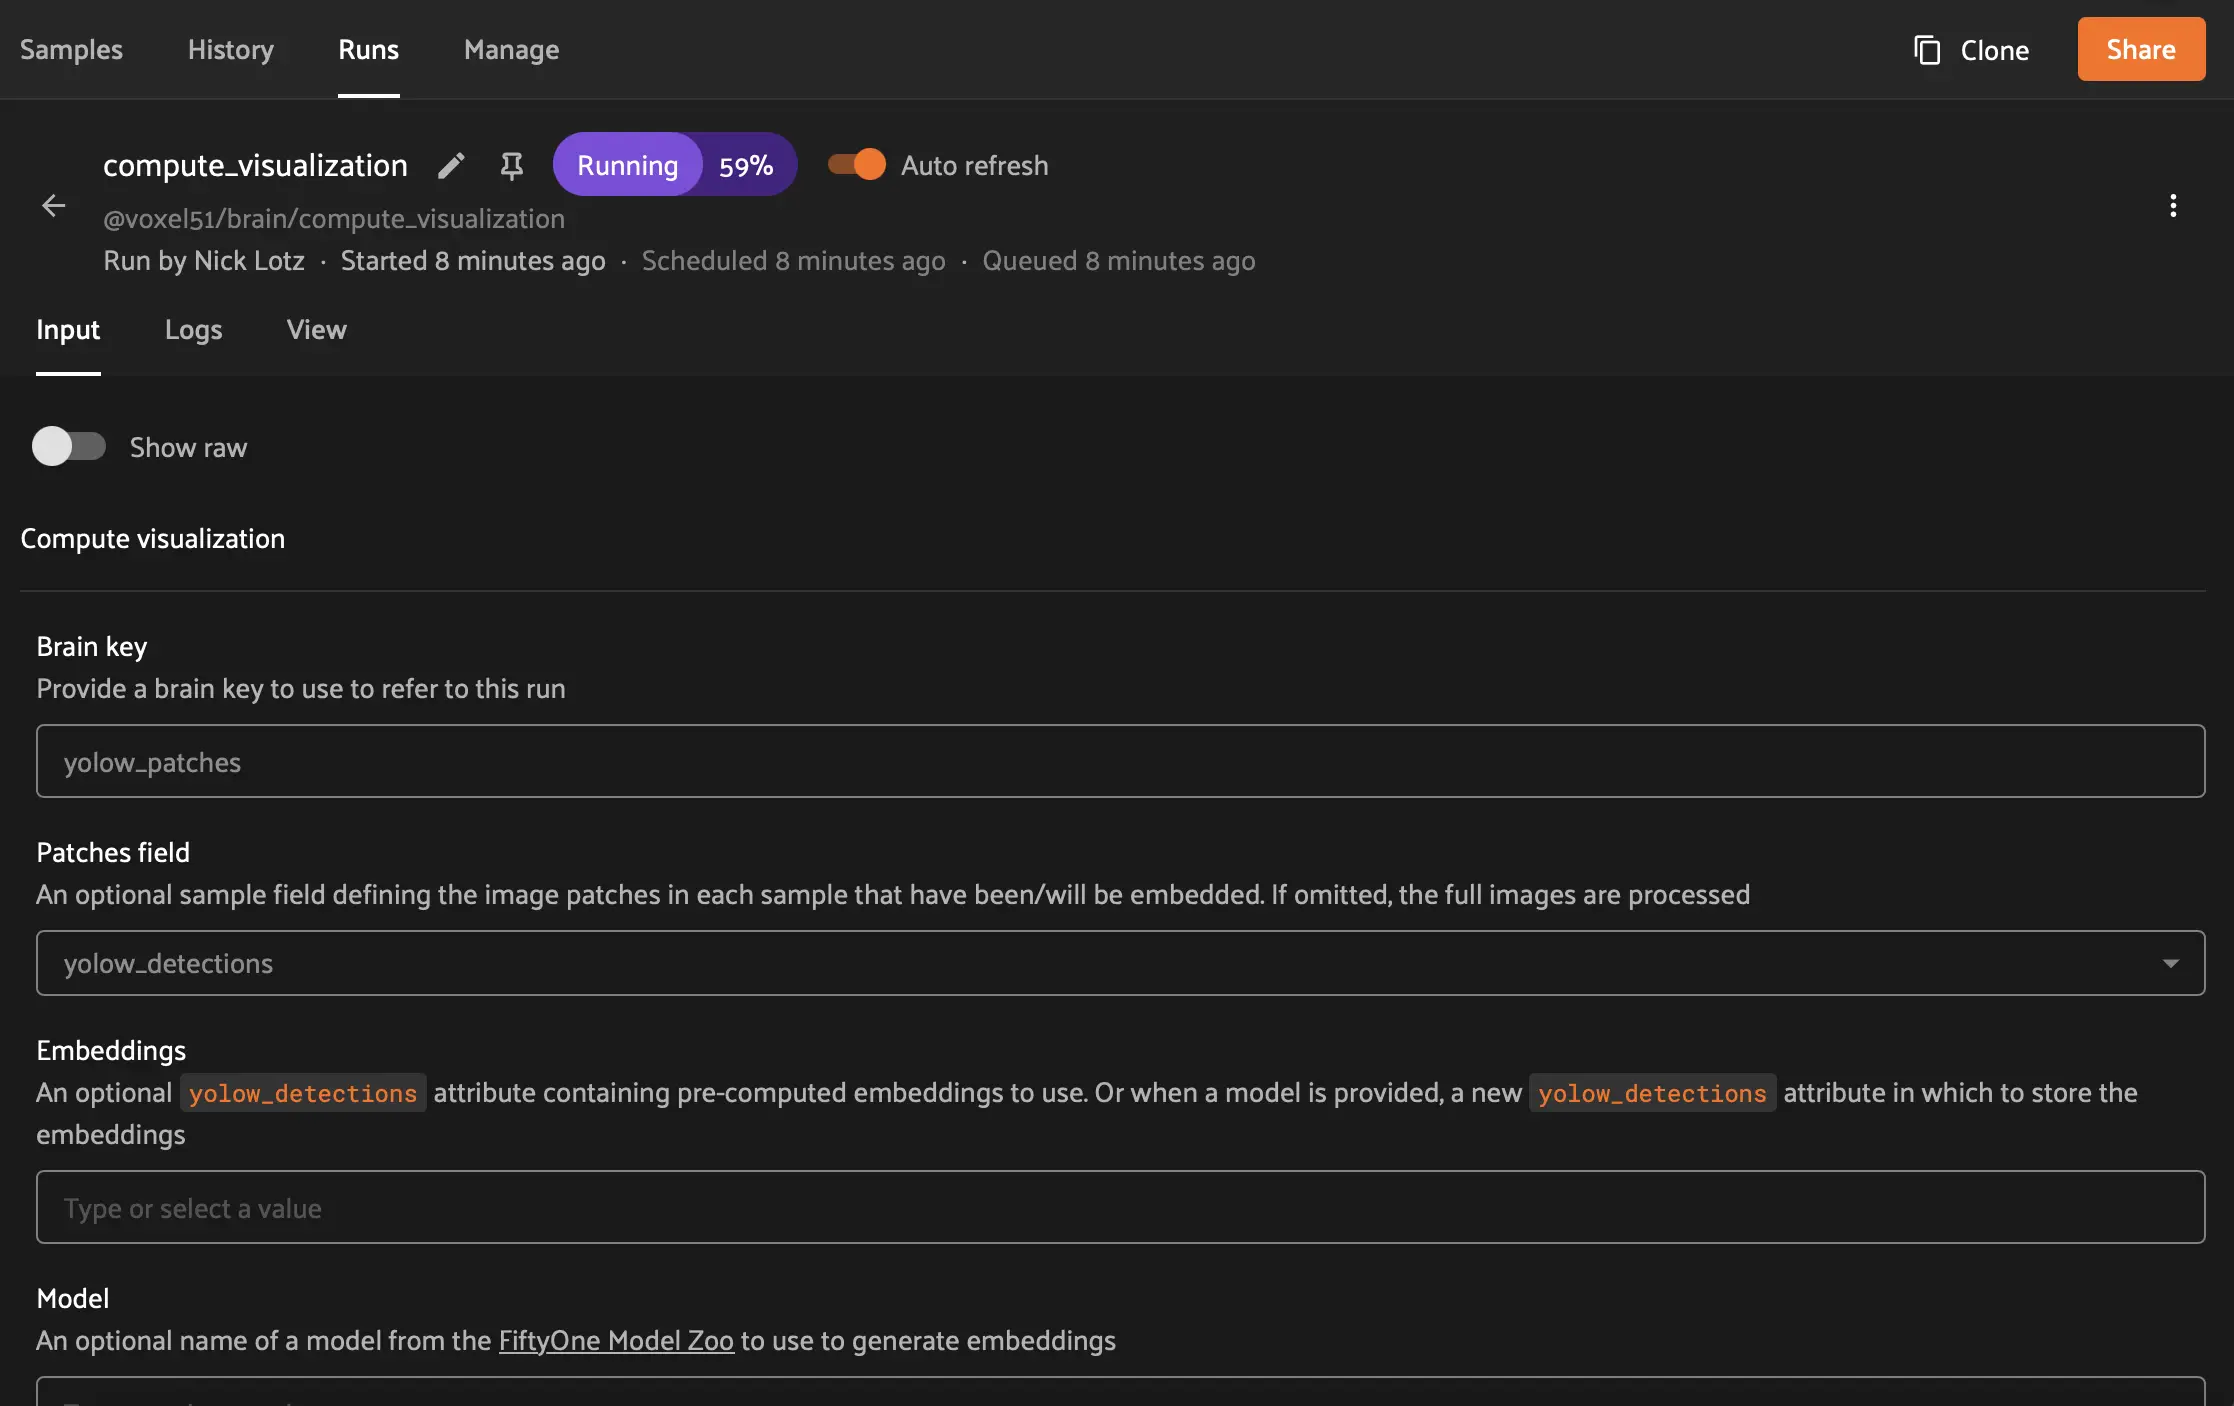
To run the embeddings computation, you can delegate it as a background operation similar to the auto labeling run. Click the dropdown arrow next to Execute and select one of your compute clusters. Then click Schedule.
You can then navigate to the dataset’s Runs tab to view the task’s progress (same again as the auto labeling run).
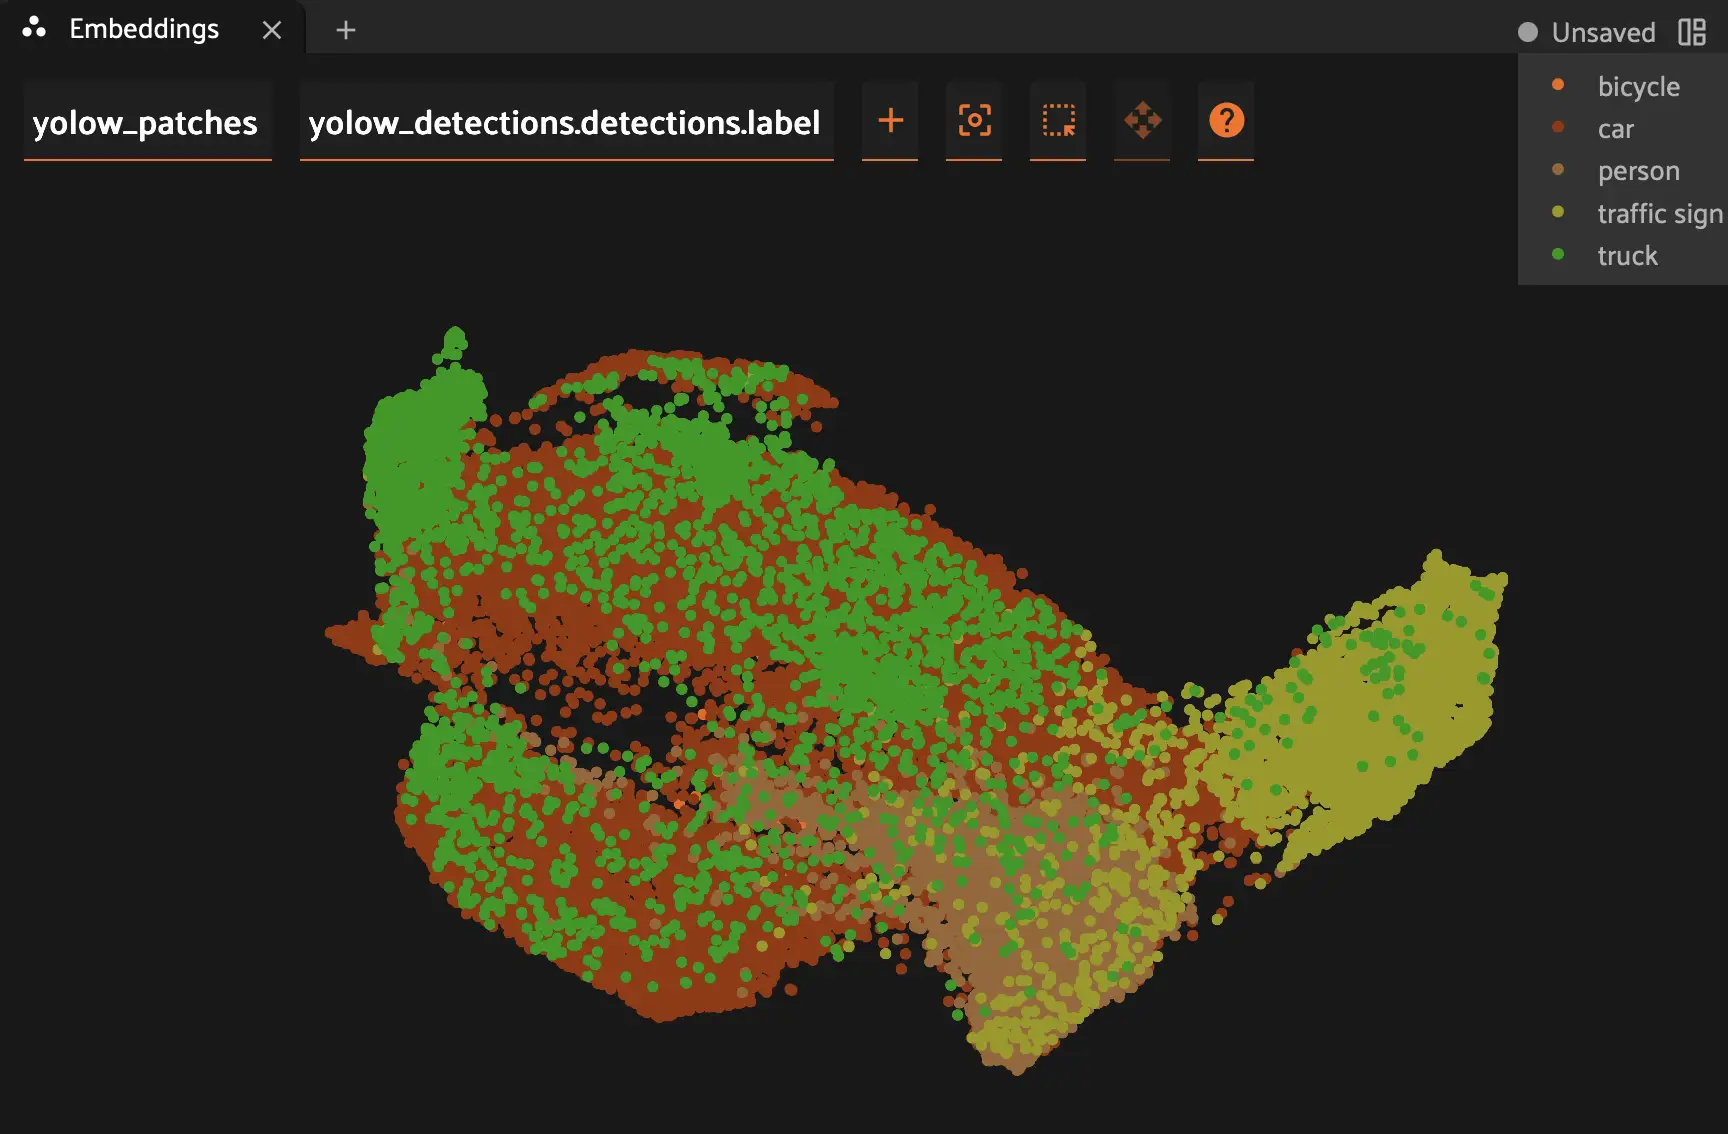
Once the task changes to Completed status, navigate back to the sample grid, then select New panel > Embeddings. Open the Select brain key dropdown, then select yolow_patches.

Analyze Patch Embeddings#
You should now see the embeddings space visualized within the Embeddings panel. This next part of the guide offers a bit of a choose your own adventure opportunity. The goal is to identify clusters of samples (or individual samples within clusters) that are mislabeled.
One option is to select Color by > yolow_detections.detections.confidence. You can then lasso low confidence clusters and identify if any are false positives.
Another option is to color by label prediction (Color by > yolow_detections.detections.label). Look for an area that suggests class confusion, e.g., one or two green dots in a sea of red. Click and drag to lasso that area and verify in the sample grid if any objects are mislabeled (e.g., a car to a truck, or a person to a bicycle).
Tip
You can easily combine class and confidence filtering by visualizing the embeddings by label and then setting a minimum and maximum confidence filter for the yolow_detections field in the left sidebar.
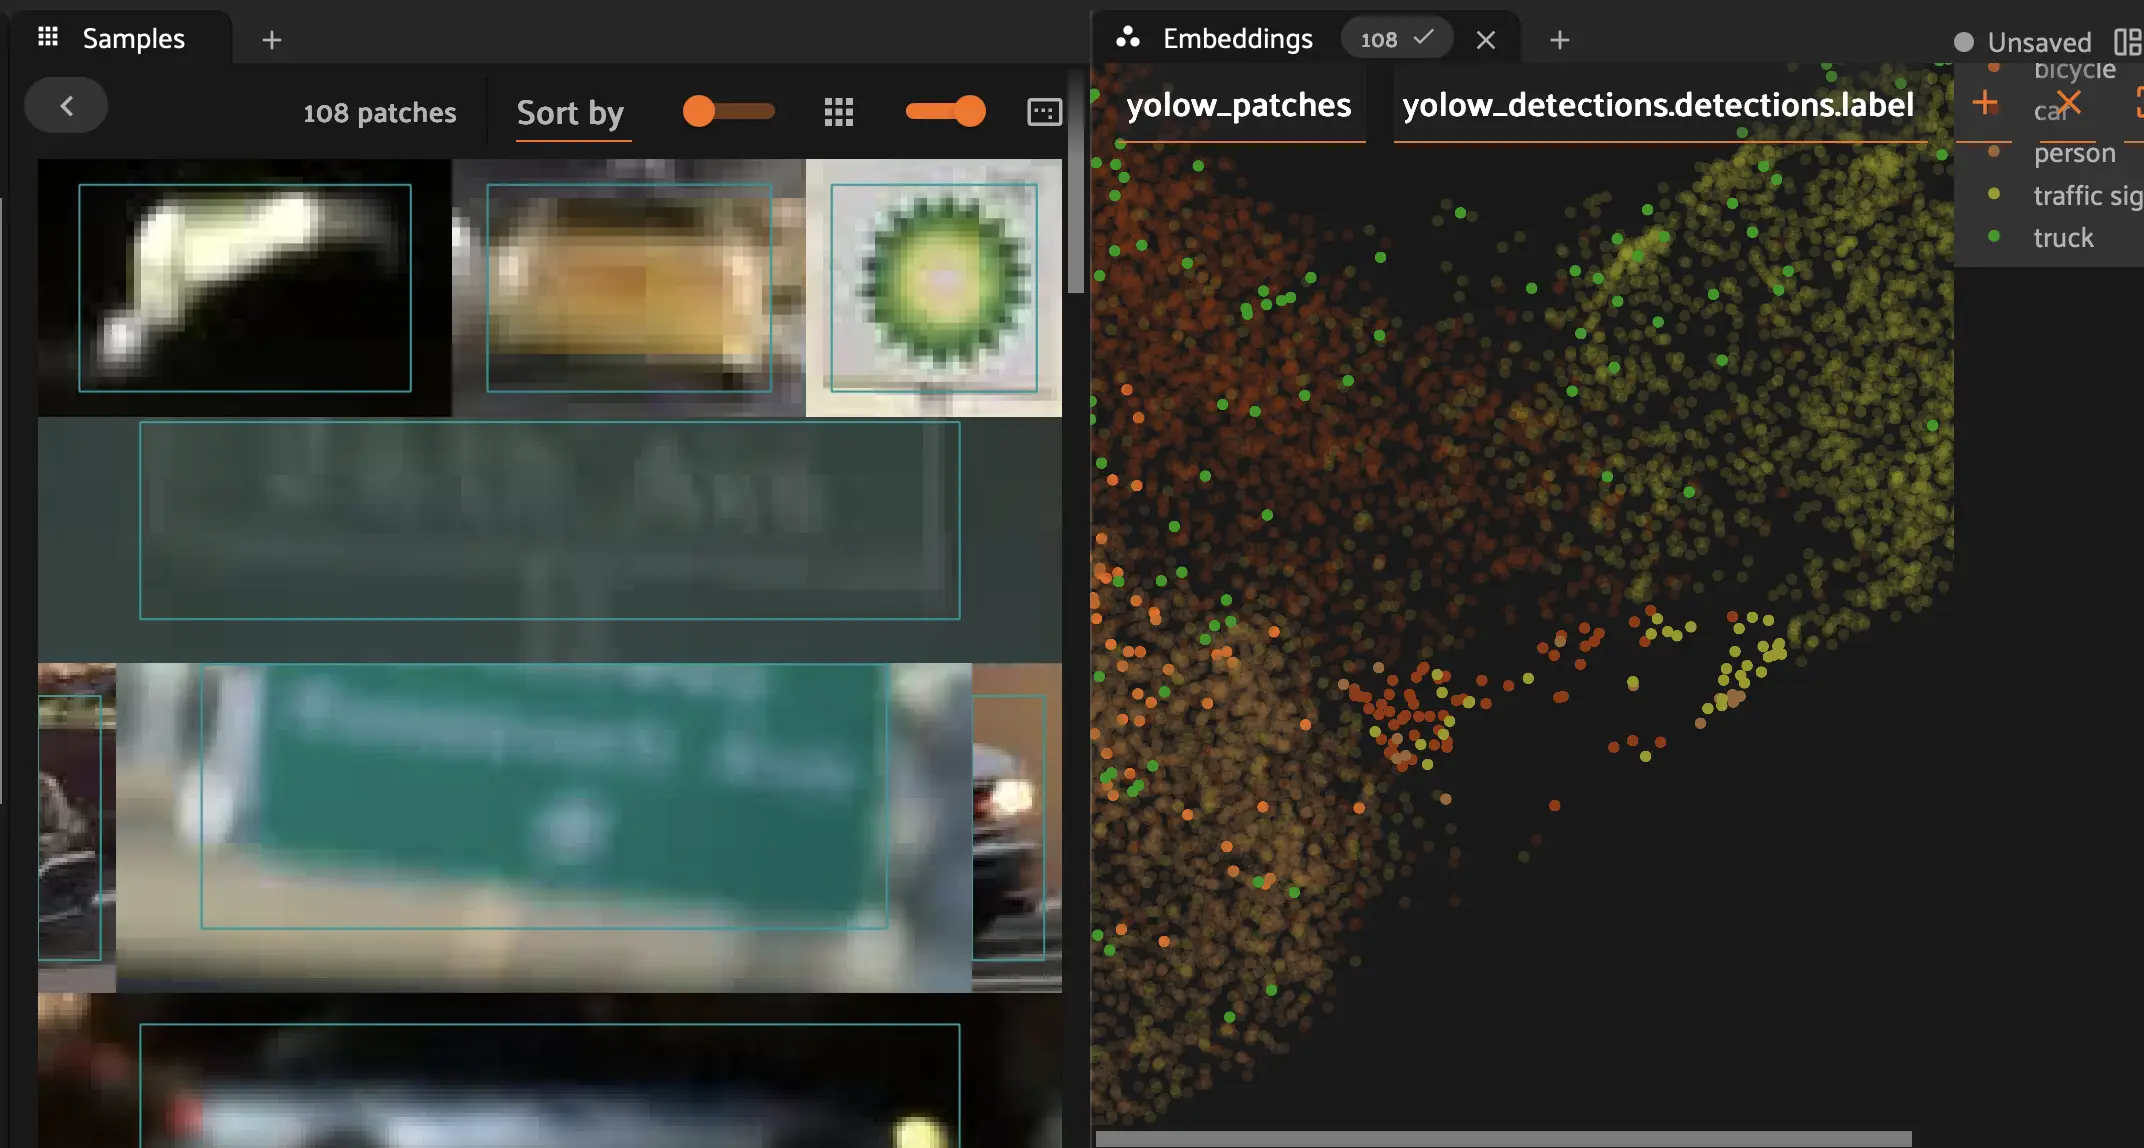
Below we see an example of a false positive, insofar as the model incorrectly labeled a gas station logo as a traffic sign.
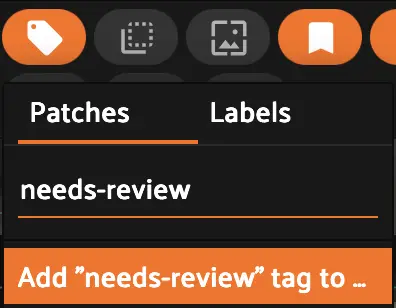
After tagging at least a few incorrect samples, a good next step is to mark them for either human correction or deletion. Select your desired incorrect samples from the sample grid, then click Tag samples or labels in the toolbar. Give the tag a name like needs-review, then click Add needs-review tag and then finally Apply. The tag then becomes a saved view you can share with your team for further QA.
Return to Auto Labeling for Iterative Approval#
After tagging samples in the embeddings view, you can filter your dataset to exclude flagged samples and return to the Auto Labeling panel. This lets you continue approving labels from a curated set.
You can filter out tagged samples using the sidebar or programmatically:
# Exclude samples tagged as needs-review
view = dataset.match_tags(needs-review, bool=False)
See querying samples for more on filtering by tags.
From your filtered view:
Return to the Auto Labeling panel
Continue selecting and approving labels
This iterative workflow helps you efficiently work through large datasets while maintaining label quality.
Next Steps#
This tends to be an iterative process. Feel free to continue analyzing parts of the embeddings space, finding and tagging samples as needed. You can also use this opportunity to return to the Auto Labeling panel and batch additional true positives for approval.
In the next and final step, you will finalize your predictions and approve your new ground truth labels.