# Step 2: Configure Your Auto Label Run
With your dataset and DO(s) ready, it’s time to configure your Auto Labeling run. This step guides you through sample and model selection, class configuration, target label fields, and setting a minimum confidence threshold.
## Open and Configure Auto Labeling
Start by clicking into your FiftyOne dataset. Above the sample grid, select **New panel > Auto Labeling**.

#### TIP
Click the “Split horizontally” button (looks like two vertical bars) in the toolbar to put the auto labeling configuration side by side with your dataset.
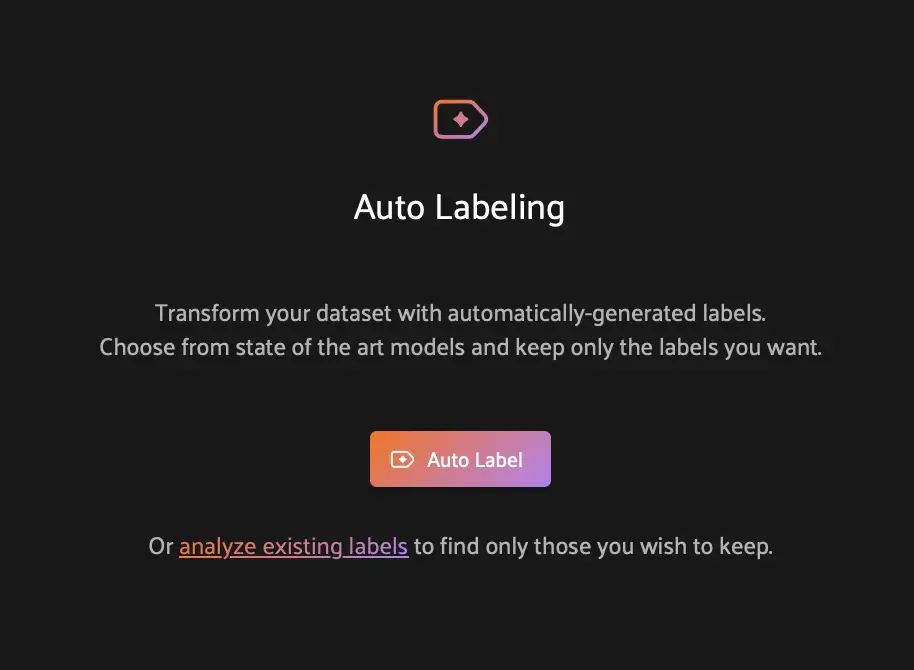
In the Auto Labeling panel, click **Auto Label**. This opens the main configuration pane where you can select your target sample set, foundation model used for labeling, classes to label, and minimum confidence threshold.
Now expand the **Target** dropdown. Since we want to generate labels for the entire dataset, select the **All samples** radio button. You can also choose to label only a filtered subset if you want to test on a smaller batch first.

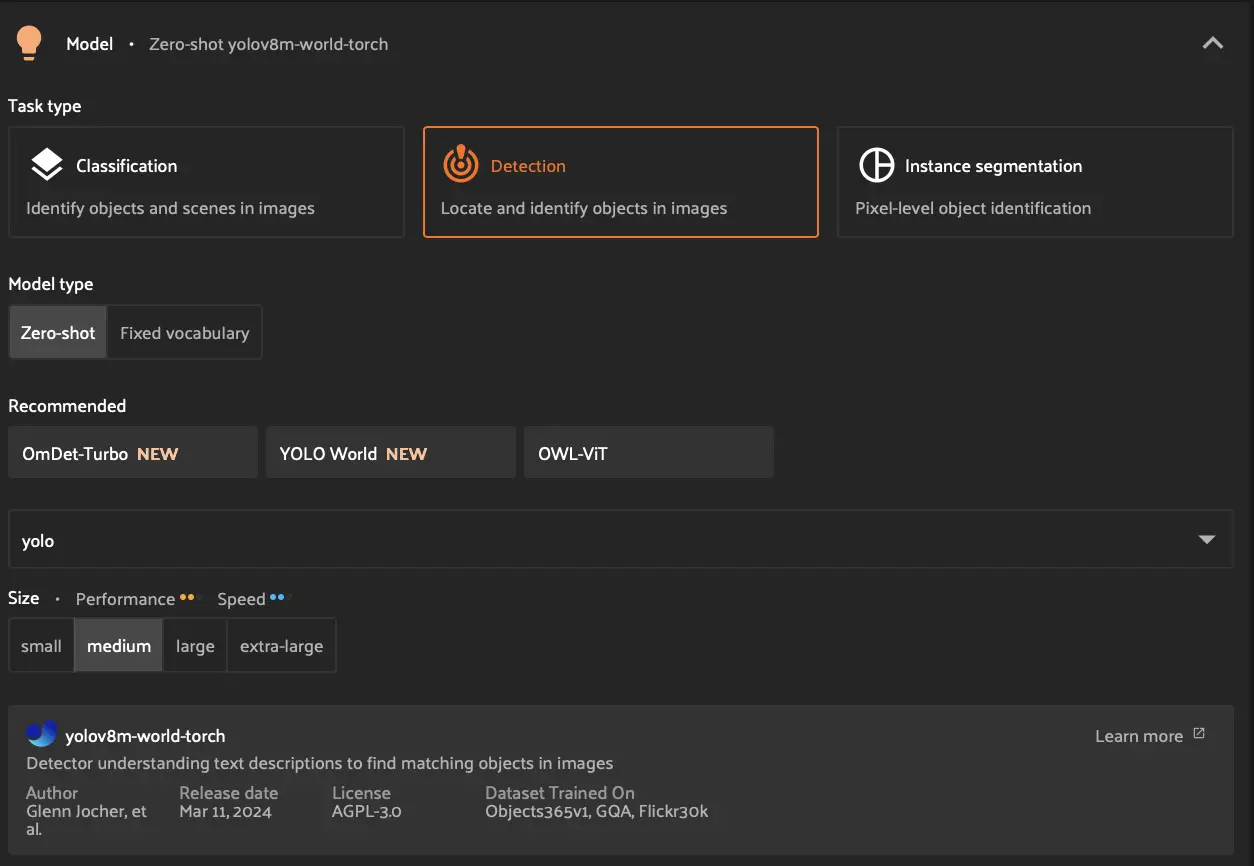
Expand the **Detection** dropdown and select the **Detection** tile.
Next, choose your model type. FiftyOne offers two options:
- **Zero-shot models** let you define custom classes using plain language. This is useful when your target objects do not match the predefined categories of a fixed model.
- **Fixed-vocabulary models** are trained on specific class sets like COCO or Open Images. They can be faster and more accurate for those classes, but lack flexibility.
For the BDD100K driving dataset, we want to detect common road objects like cars, buses, and pedestrians. A zero-shot model is a good fit here because it allows us to specify exactly the classes we care about. Select **Zero-shot**, then choose **YOLO World** from the model dropdown. YOLO World combines strong detection accuracy with efficient inference speed.
For the model **Size**, choose **Medium** to balance speed and performance.
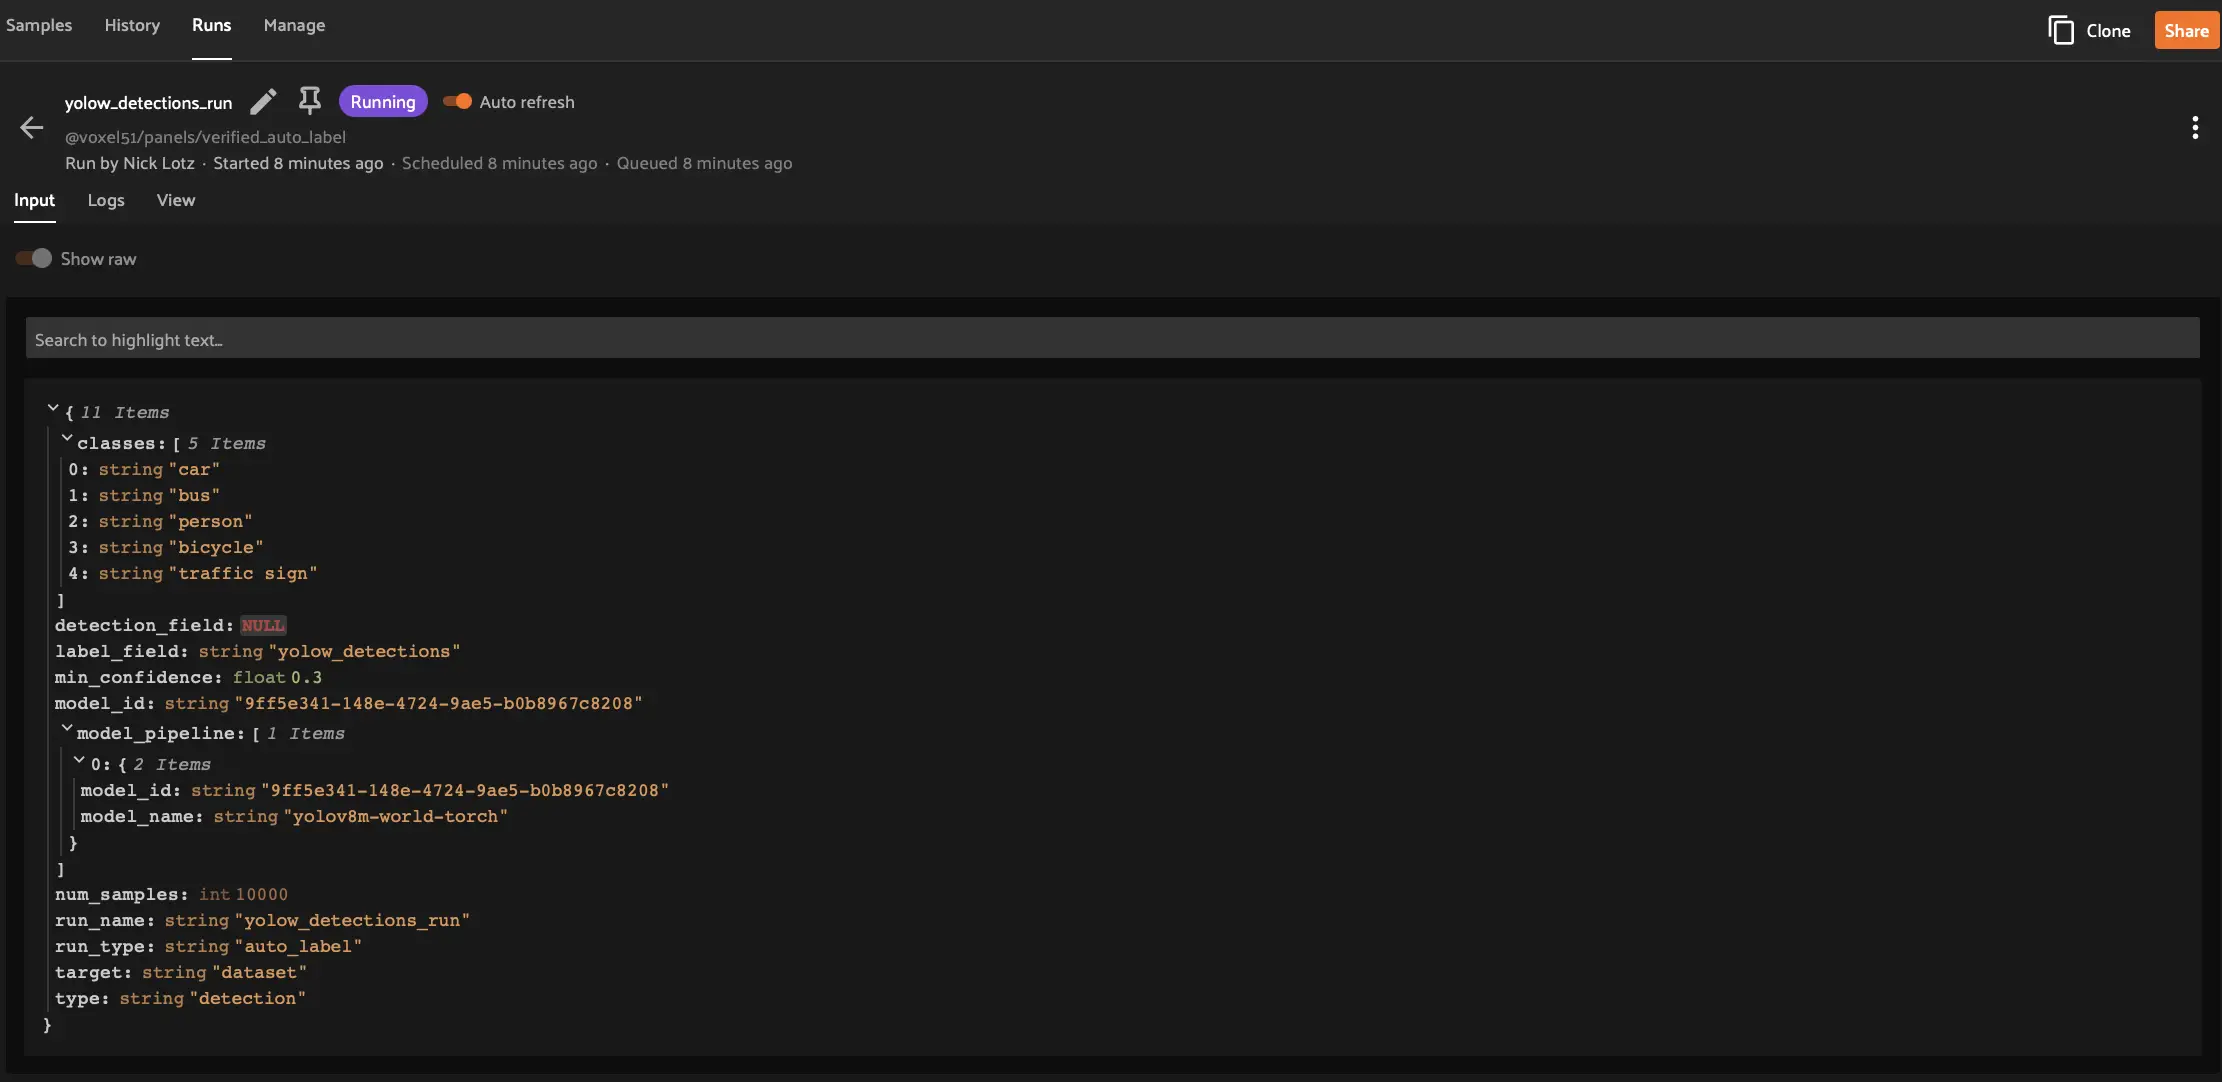
Expand the **Define zero-shot classes** dropdown. Enter: `car, bus, person, bicycle, traffic sign`
These classes represent the key objects for autonomous driving perception. You can adjust this list based on your annotation goals.

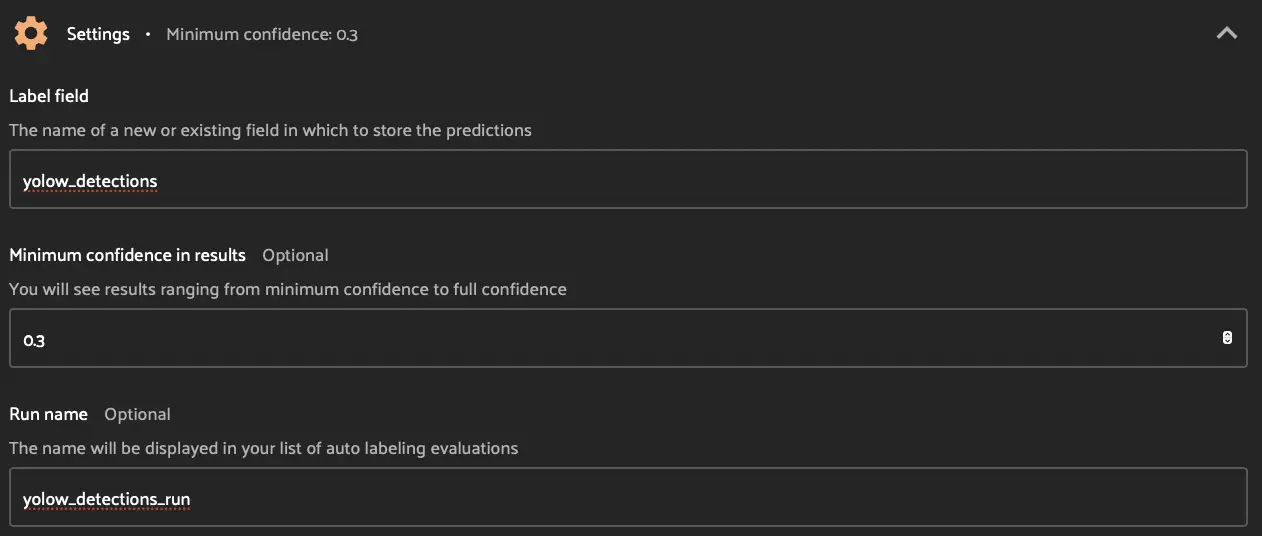
Finally, expand the **Settings** dropdown.
- For **Label field**, type **yolow_detections**.
- For **Minimum confidence in results**, type **0.3**.
- For **Run name**, type **yolow_detections_run**.
#### TIP
For auto labeling, a low-medium confidence threshold often maximizes downstream model accuracy due to increased recall. See this [article](https://voxel51.com/blog/zero-shot-auto-labeling-rivals-human-performance) for more details.
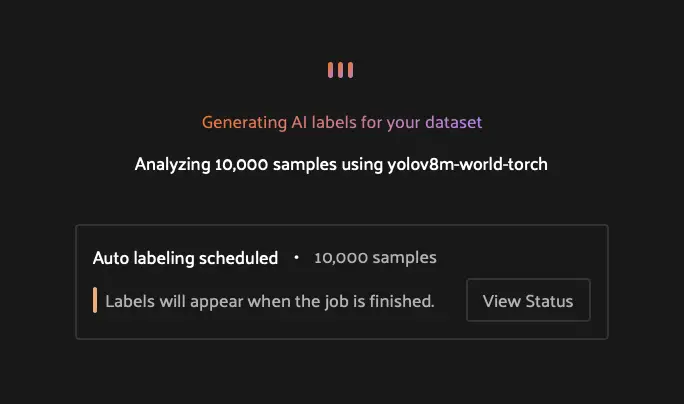
Now click **Auto Label**, then click **Schedule** for one of your delegated operators. Your auto labeling job will then kick off in the background.
## Monitor the Auto Labeling run
FiftyOne has now begun running the auto label operation as a background job. To view the job’s progress, you can click **View Status** from the Auto Labeling panel, or the **Runs** tab and then click into your running job where you’ll see the job’s progress as well as your configuration parameters as inputs. In the job run, also note the ability to view and download the job log, re-run the job, and if necessary terminate/cancel any stuck jobs.
## Next Steps
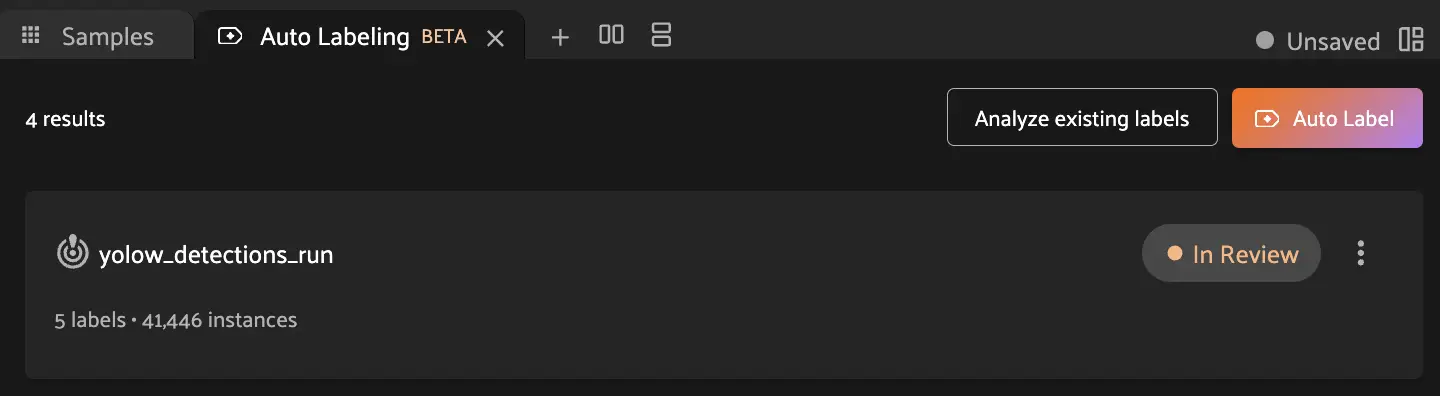
Your Auto Labeling run is now executing! When complete, the run status changes to **Complete**, and you can then return to the Auto Labeling panel to begin analyzing and reviewing predictions.
Click **Next** to learn about [Step 3: Analyze Label Predictions](03_analyze_results.md#val-analyze-results).
#### NOTE
You can launch multiple auto labeling runs in parallel with different configurations to compare models or settings. Each run operates independently.